(844) 656-0303
Essential Equipment and Tools for Canning and Preserving
Posted by CHERIE THOMPSON

As the bounty of fresh, local produce rolls into kitchens across Canada, chefs and home cooks from coast-to-coast start canning and preserving the harvest. It may seem old fashioned to many, but what these chefs and cooks know is locking in goodness now – and there are many methods for locking in flavour – means the delicious can be savoured until the next bounty comes around.
What you will find in this article:
• What is canning?
• What are the three types of canning?
• What is preserving?
• Types of canned preserves?
• Why should Canadian kitchens be canning and preserving?
• Equipment and Tools Checklist for Canning and Preserving

What is canning?
Canning is the process of placing food in jars or other containers to preserve food using heat. Using heat destroys microorganisms, inactivates enzymes and creates a vacuum seal which combined makes the food safe to eat, maintains quality and prolongs the shelf-life of the delectable contents.
Despite the name, canning doesn’t require the use of tin cans. The term canning comes from the word canister, as foods have been preserved in canisters made of clay, wood or tin. Now, glass is the preferred canister.
What are the three types of canning?
There are three types of canning: water bath canning, steam canning and pressure canning. The method required for food safety is determined by the acidity level of the food.
Water Bath Canning
Water bath canning is a method of canning used for high acid foods - foods with a pH below 4.6. Water bath canning is the most popular method of canning for its simplicity and reduced safety concerns.
Glass jars are packed with product, loosely sealed, then submerged by at least one inch in vigorously boiling water for a predetermined amount of time. Be sure to research proper food-safe methods and do not deviate from the instructions.
All you need is a pot with a lid and a metal rack for the bottom of the pot. The pot needs to be large enough to allow at least 1” of water to cover the jars. The rack keeps the jars from touching the bottom of the pot. If the jars touch the bottom of the pot directly, there is a risk of them breaking. There are special racks, designed for holding and lifting jars from a water bath, but they are nice to have but not essential. In a pinch, you can use the rings from the jar lids to craft a makeshift rack.
Yes, there are kits available that include the pot, lid and rack.
Steam Canning
Steam canning, also called atmospheric steam canning, is a method of canning used for high acid foods – foods with a pH below 4.6.
Jars are prepared the same as water bath canning. However, the jars are then set on or in a rack above the boiling water level. The steam created treats the jars with heat instead of being in direct contact with the boiling water.
Currently less popular than water bath canning, steam canning is gaining traction as this method requires less water and energy and comes to the processing temperature faster.
All you need is a pot with a lid and a raised rack for the bottom of the pot. The pot needs to be large enough to allow for the raised rack and jars so the lid still fits tightly. The raised rack needs to be tall enough to keep the jars above the boiling water.
Yes, there are kits available that include the pot, lid and raised rack.
Pressure Canning
Pressure canning is a technique of food preservation that uses high pressure, delivered by specialized equipment to ensure the safety of canned low acid foods. A pressure canner is the only way to bring the processing temperature up to a range 240°F to 250°F (115°C to 121°C). It's within this temperature range and the correct length of time that will kill botulinum spores.
Pressure canning also offers the benefit of preserving foods closer to their natural flavours without the need of adding extra acid from vinegar's.
This method of canning is not for the faint of heart as a pressure canner is a scary piece of equipment – evident by the warning labels and stickers on these units.
A pressure canner is required for this type of canning. To be clear, a pressure canner is not the same as a pressure cooker (like an Instant Pot). You want a pressure canner from a trusted brand that meets all the safety requirements for canning low acid foods. That includes being able to reach the appropriate temperature. Therefore, a functioning gauge is imperative.
If you have never canned before we strongly recommend starting with low-acid foods using the water bath method before moving to pressure canning. We also recommend using reliable recipes appropriate for your locale as elevation plays a role in processing times to guarantee food safety.

What is preserving?
Preserving, or food preservation, is any method used by which food is kept for an extended time after harvest. This includes canning, drying, refrigeration, freezing, fermentation, smoking, salting and pasteurization. However, vacuum sealing is also considered a method of preserving. Ideally, preserving will affect at least one of the following: temperature, moisture, oxygen, enzymes and microorganisms to reduce the time it takes for the food to spoil.
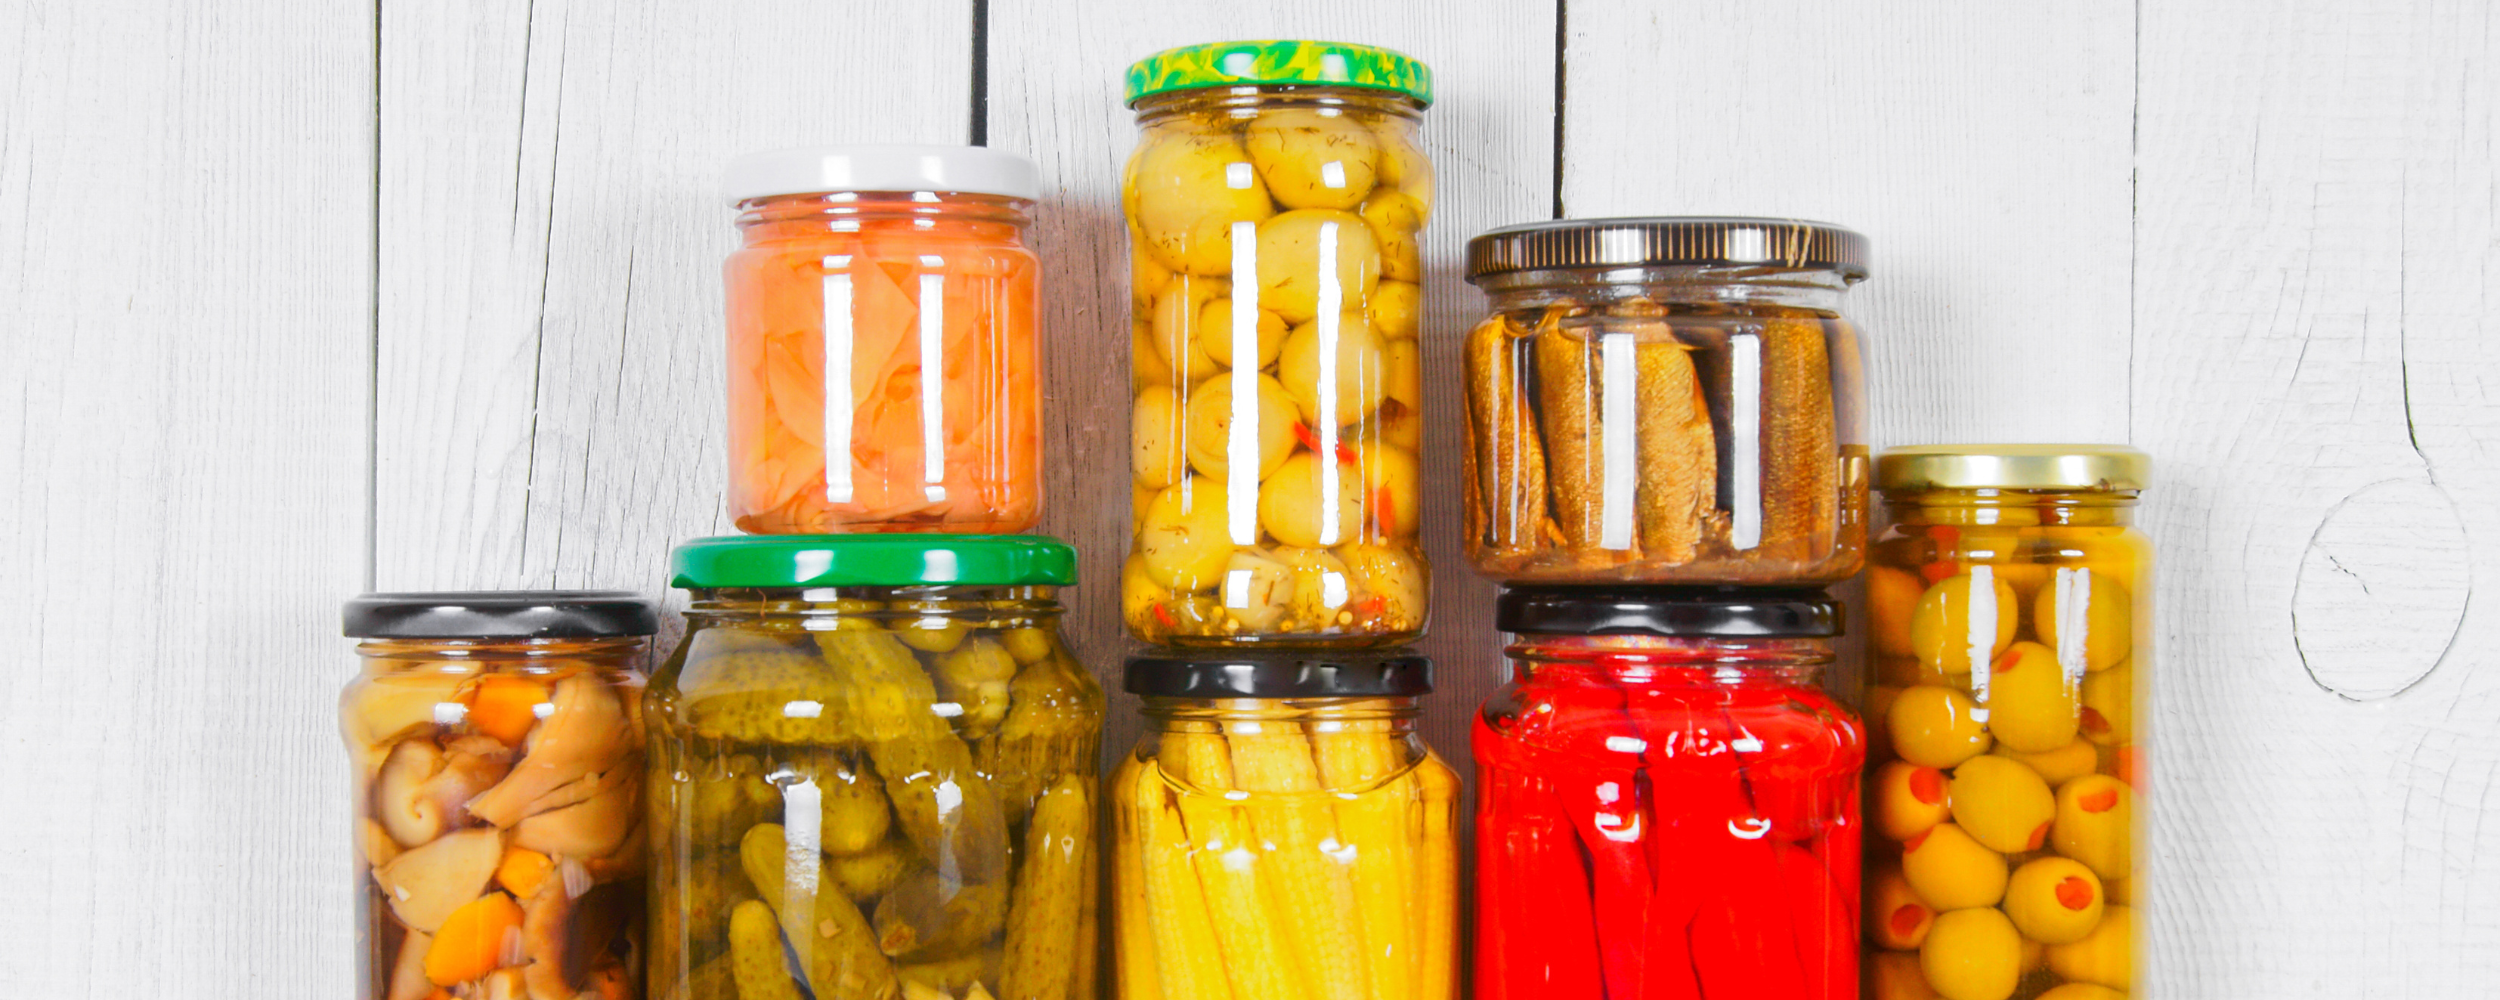
Types of Canned Preserves
High-Acid (pH below 4.6)
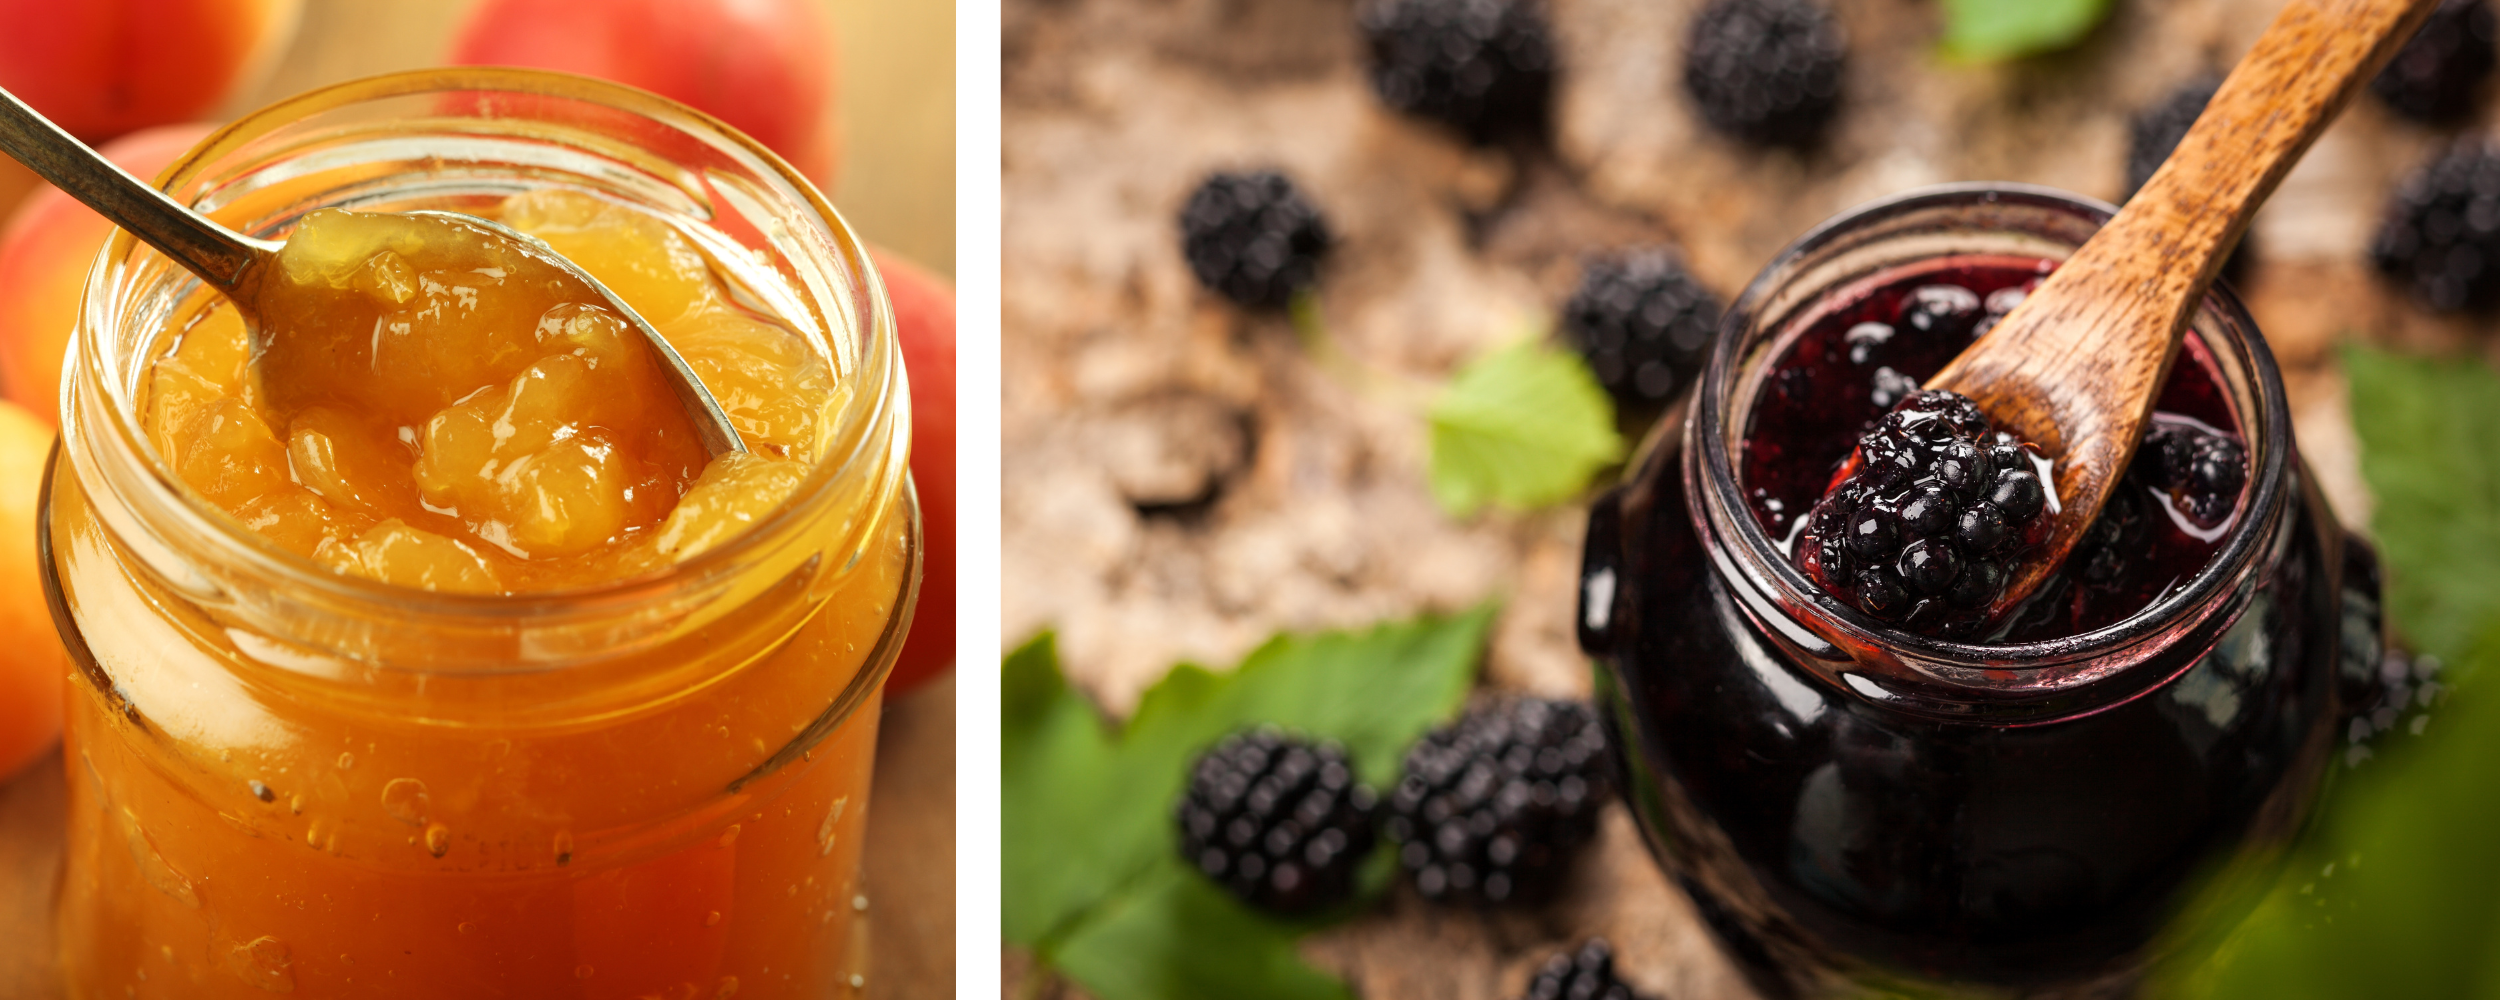
Jams
Jellies
Marmalades
Fruit Butters
Conserves
Pickles
Relishes
Chutneys
Tomatoes
Salsas
BBQ Sauces
Low-Acid (pH above 4.6)
Vegetables (not pickled)
Legumes
Meat
Sauces
Why should Canadian kitchens be canning and preserving?
Flavour, flavour, flavour! What kitchen wouldn’t want to add a delicious touch to their meals while increasing the longevity of produce, reducing food waste and keeping up with food trends? Canning and preserving also opens another revenue stream for foodservice operators as a retail add-ons or upsells.
Surely reading the list of canned preserve types above made you hungry. Think about how a spoonful here or there can amplify your menu. A spoonful of strawberry jam swirled through vanilla ice cream, a smear of onion maple chutney on a grilled cheese sandwich or crunchy Thai pickle slices on a chicken salad or in a buddha bowl - preserves can quickly add a touch of sweet, savoury, crunchy, tangy finish to any dish.
Time is hot commodity in any kitchen. Maybe your busiest time of year is when the local product bounty rolls in. Why not pop those strawberries into the freezer and make jam when you aren't so busy (and the kitchen is cooler)?
Equipment and Tools Checklist for Canning and Preserving
Canning food, regardless of what type of canning, requires jars and lids. The lids can be either one part or two part (flat lid and screw on ring). The lid must have a gasket to allow for a tight seal. Glass jars can be reused as long as they have no chips or cracks, but you should always use new lids.
Other than jars with lids and a pressure canner, all of the other equipment and tools you need for canning and preserving are multipurpose items that might already be in your kitchen. We've put together a list for you to double check and indicated the important features of the items as it pertains to canning and preserving.
1. Pots and Lids
Depending on what you want to preserve, several pots and pans or various sizes might be required. One for cooking jam or simmering chili sauce, one for sterilizing jars and one for water or steam bathing the filled jars. Stainless steel is the best material for its durability and non-reactive nature.
A stock pot, tall pots in relation to their width, are best for bathing and should be at least 3 inches taller than your jars. Remember to check the lid for a tight fit.
2. Bowls
Once fruits and vegetables are prepared, they need to be safely stored until ready for use. Bowls, either plastic or stainless steel work great for have all of your ingredients lined up and ready to go.
3. Food Storage Containers
Sometimes you can't get to all of the fresh produce the day it arrives at your kitchen door. Give yourself more time by using food storage containers - designed to extend the shelf life while maintaining quality.
These same tall, deep food storage containers are great for crushing fruit to use in jams.
4. Colanders and Strainers
Washing and draining produce is easy with a colander or strainer. Properly strained ingredients, like a salted cucumber, onion and apple mix for hamburger relish, will cut down on cook times. Remember to use a colander or strainer slightly larger than the volume you want to add or you will have to drain or strain in batches...taking more time, dirtying more dishes. Using a larger colander or strainer also gives you the option to stir and or press the ingredients to help get rid of more liquids.
5. Scales
Many recipes use weights to more accurately measure ingredients. Using a scales to weigh produce before preparing for use in a recipe will give you a better idea of yield and therefore a more accurate idea of how much you need to purchase for a batch of your Spiced Pickled Golden Beets.
6. Measuring Cups and Spoons
Although a scale is a more accurate way to measure ingredients, sometimes it's easier to use measuring cups or measuring spoons.
For small quantities, or when a few grams one way or another aren't going to make a difference in the final results, grab the measuring spoons. Or if you're measuring liquids, a graduated clear measuring cup is the best choice.
7. Large Kitchen Spoons
We aren't talking about spoons you use to eat soup or taste your spicy red pepper jelly. We mean large kitchen spoons, either wooden or stainless steel, that are large enough to reach the bottom of a large stock pot. Depending on what you are canning, there might be a lot of stirring involved. A comfortable, stay-cool handle will be much appreciated after the fourth or twentieth batch.
8. Scraping Spatulas
Produce may be bountiful, but it still costs money, so ensure you get the most out of your with a spatula. A scraping spatula can easily get all of the ingredients into the pot (reducing waste and increasing yields) and all of the prepared preserves into the jars (reducing waste and increasing yields). Consider a heat-resistant, long-handled spatula to be ready for those large pots of chili sauce.
Learn more about Types of Spatulas.
9. Knives and Cutting Boards
Produce doesn't arrive prepped and ready to be canned. Peeling, coring, slicing, chopping and dicing are certainly going to be on your prep list and you can't do any of those without the proper knife and a cutting board. Maybe a peeler would be better for some jobs?
Learn more about Professional Knives or Cutting Boards.
10. Food Processor
Depending on size of your canning to-do list or size of batches, a food processor might be the way to go. Quickly
Learn more about Food Processors
11 Immersion Blender
Indispensable for making purees and smooth sauces, an immersion blender allows the canner to blend right in the pot. Reducing the amount of times the food needs to be moved which reduces food waste and the number of items that need to be washed.
Learn more about Immersion Blenders.
12. Funnel
When you are dealing with liquids, and hot liquids in particular, you want to make sure they go exactly where you want them. A regular funnel is perfect for directing liquids. A wide-mouth funnel is better for filling jars with food.
13. Ladles
And what do you need to fill the jars, even with the help of a funnel? A ladle. Available in various sizes, with comfortable, heat-resistant handles,
14. Kitchen Towels
To maintain food safety and to ensure proper sealing of jars, having a good supply of kitchen towels and cloths is a good idea. Enough to allow for a cloth for each cleaning task so they don't cross contaminate. At least three is best. One for cleaning up inevitable spills on the counter, one dedicated to wiping the rims of jars before putting on the lid and one as a back up in case one gets dropped on the floor.
15. Timer
For food safety, canned foods need to be processed for a specific amount of time. Always follow the food processing time from a recipe by using a timer.
16. Thermometer
To make jams and jellies without pectin requires the mixture to reach a specific temperature (depending on how thick you want the final product). Yes, there are a few tricks you can use to get a ballpark idea of temperature, but a thermometer is a sure-fire way to know without any guess work.
If you are serious about canning and preserving and want to go all in, it might be be prudent to invest in some specialized tools.
17. Lid Lifter
A plastic stick with a magnetic tip for pulling lids out of the simmering water. Easier to grab just one at a time with no trapped water spilling onto the counter or into the food as you place them on top of the jar.
18. Jar Lifter
Also called canning tongs, a jar lifter is really just a specially designed type of tongs. Made of metal and coated with rubber or silicone, the ends are shaped to grab jars under the lid and pull hot jars securely and safely out of water bath canners, steam canners or pressure canners without touching the lids.
19. Bubble Remover
Yes, there actually is a tool called a bubble remover. Also called a bubble tool. Releasing trapped air in jars in imperative for food safety. Typically, this tool also has a jar head measuring tool on the end. This measures the empty space from the top of the jar to the food. The amount of head space suggested depends on the food you are canning and the method of canning. Adhering to the recommended measurement ensures proper sealing.
Please note, removing bubbles can be easily done with a chopstick or skewer instead. You can also use a non-reactive dinner or butter knife. Ideally you want something of small diameter or thin to not force the contents of the jar out when removing bubbles. A ruler can be used to determine head space.
20. Water Bath, Steam or Pressure Canner Kits
Water Bath and Steam kits, as we discussed above, consist of a pot, tight fitting lid and rack. They can be found in multiple materials and sizes. Ensure that there is at least 3 inches of space from the top of your jar to the top of the pot.
For pressure canning, you absolutely need a pressure canner. Nothing can replace it. As we talked about before, choose a pressure canner from a reputable brand that has clear instructions and outlines all of the safety features.
If you are new to canning and preserving, welcome! Your family, friends and customers' taste buds will thank you. Remember, you only need to start with one trusted simple recipe. Gradually work up to more complicated recipes and techniques. Happy canning!
P.S. Give us a call when the first batch is ready, we would love to taste test it for you!