
 (844) 656-0303
Quick Pickling: Recipe and Tips
Posted by CHERIE THOMPSON

If pickles pack a punch then quick pickling is a knockout... Sweet, savoury, crunchy and tangy flavour, quick and easy to prepare - all using simple ingredients.
Pickled fruits and vegetables can be found all over restaurant menus from the bar to desserts. How about a Spicy Green Bean in a Caesar, slivers of Cardamom Pickled Pears on a charcuterie board or a Rosemary Vanilla Pickled Cherries over cheesecake? Pickles complement any style of food and beverage. And you don't need to be a professional chef to make them!
With a few tips and tricks, we will get you started on the quick pickling path to deliciousness.
But first a few explanations.
What is pickling?
Pickling is the process of preserving or extending the shelf life of food by fermentation in brine or immersion in vinegar. The resulting food is called a pickle.
Pickling has a long and varied history. It’s been a method of food preservation for thousands of years and is responsible for altering the tastes and textures of many foods.
There are two basic categories of pickles. The first type includes pickles preserved in vinegar, a strong acid in which few bacteria can survive. Most of the bottled cucumber pickles available in the supermarket are preserved in vinegar. The other category includes pickles soaked in a salt brine to encourage fermentation—the growth of "good" bacteria that make a food less vulnerable to "bad" spoilage-causing bacteria. Common examples of fermented pickles include kimchi and many cucumber Kosher dill pickles. Fermented foods offer deliciously complex flavours.
What is quick pickling?
Quick pickling is a method of preservation free from the hassles of traditional canning. Quick pickles are made to be stored in the fridge, which is why they are also called refrigerator pickles. This type of pickle should be consumed within a month or two of preparation. This style of food preservation can be done in small batches or as a big batch pickling project depending on the volume the enterprise needs.
Quick pickling is just that…quick. No fuss, no muss.
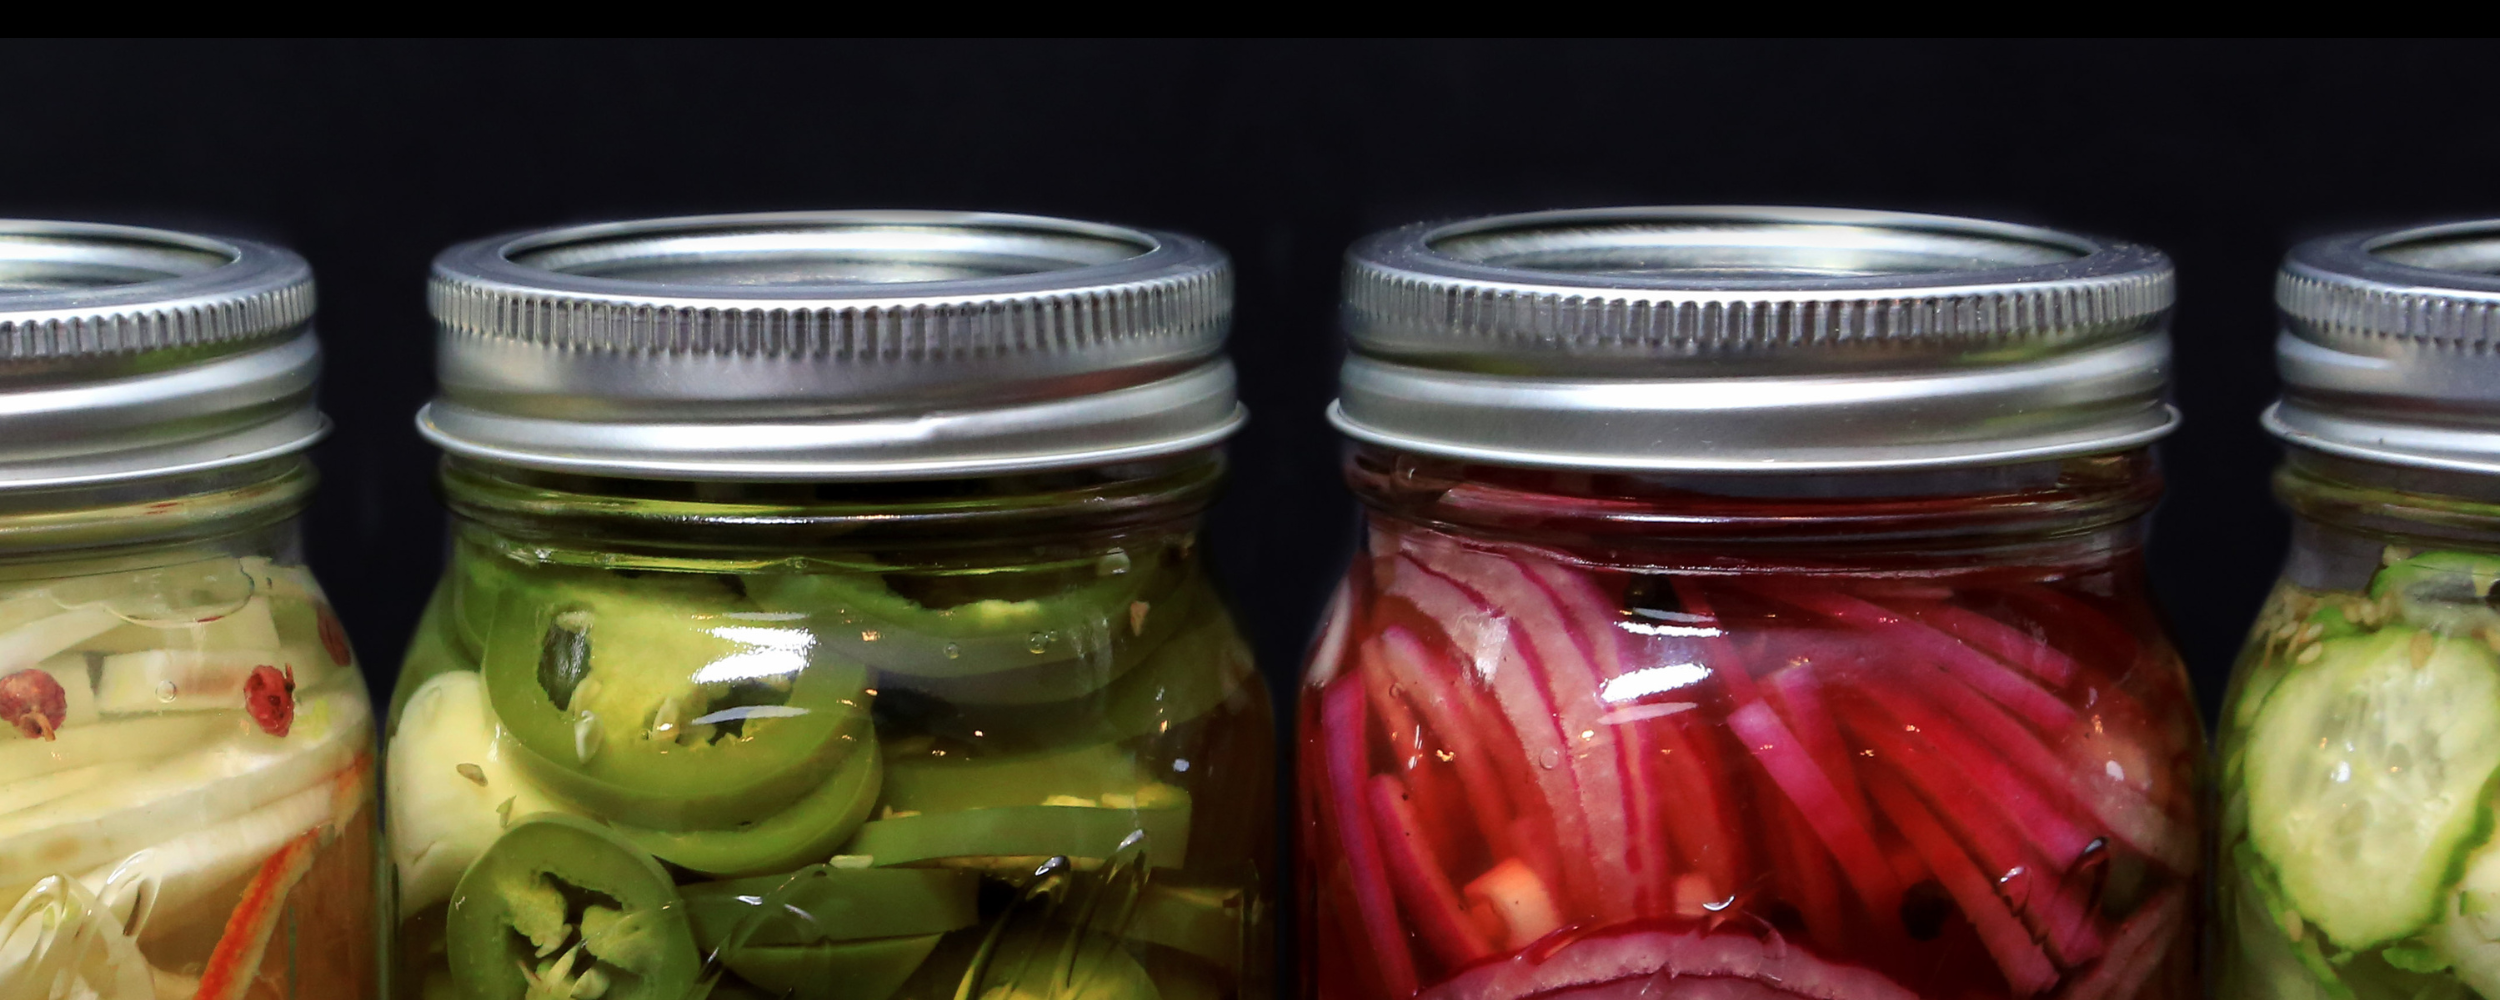
What can you pickle?
Pickling isn’t just for cucumbers. So many vegetables make great pickles! Onions (any onion), carrots, cabbage, radishes, parsnips, pickled cauliflower is da bomb! Got an extra spicy batch of jalapeños? Pickle ‘em! You can pickle fruits and nuts, too.
Even eggs can be pickled! In the past, it was normal for bars to have a jar of pickled hard-boiled eggs hanging around for alcohol fuelled snacking. The Nordic communities are fond of pickled herring, and though pickled fish and even pickled meats are less common, they're still an option for pickling.
What tools do you need for making quick pickles?
Not many. Which is what makes this type of pickling so magical.
• Glass jar with a lid
• Stainless steel pot or pan
• Knife and cutting board
That's it. Seriously. We know it's weird, talking about a method of cooking that uses so few tools as a company that sells kitchen supplies, but we love quick pickling so much we had to share.
We suggest using glass jars as you typically are adding a hot brine (more on that later) to the food in the jar. Glass does not stain and can handle the heat. Yes, there are food-safe plastic containers, but make sure they can handle the heat.
Stainless steel is the best material for the pot or pan you use to heat the brine as stainless steel is non-reactive, which is what you want when working with high-acid foods like vinegar.
A chef knife and cutting board are the most basic tools you will need to prep your ingredients. You may prefer a selection of knives depending in the foods you will be preparing. Maybe a paring knife close by for more delicate work or even a peeler would be better for you.
How do you make quick pickles?
The method is ridiculously simple for vegetable and/or fruit quick pickles.
1. Prepare produce and add to a clean jar.
2. Add herbs and spices.
3. Heat brine and pour over produce.
4. Put the lid on the jar, let cool then store in the fridge.
Yup, it's simple.
Peel, slice, dice, julienne, wedge or chop, the shape is whatever you prefer. Some produce, typically vegetables, may need to be blanched or cooked before adding to the jar. Blanching or cooking is about either maintaining the colour or affecting the texture.
Get spicy! You can go crazy here. Whole spices work better for quick pickling (and pickling in general). For more intense flavours, roughly crush the spices before adding the jar. You can use ground spices if that's what you have, but it may make your pickling liquid look a bit cloudy. Whisk ground spices into the brine before pouring into the jar.
Fresh or dried herbs can be used for quick pickling. And although not herbs, consider fresh garlic and fresh ginger when planning your flavourings.
What about brine? What is it? For quick pickling it's vinegar, water, salt and sweetener. Is there a magic ratio? Not really, it depends on your tastes. As a starting point, use equal parts vinegar and water then add salt and sweetener to taste.
Heating the brine helps ensure the salt (and sugar) are dissolved, helps release more flavours from vegetables and fruit and an opportunity to infuse stronger flavours to your quick pickles if you add your herbs and spices to the brine while heating.
Vinegars - cider, malt, wine, rice or white - and the herbs and spices that accompany them can be blended and combined to create symphonies of tastes. Your choice of sweetener will also add some taste - white sugar, brown sugar, maple syrup, agave syrup, stevia.
Chef Tips for Making Quick Pickles
1. Cleanliness is key
Remember, even though you aren't traditionally canning, it's imperative to start with clean and sanitized tools. As you always should, ensure your produce has been properly cleaned before prepping (and possibly after as well) for the best quality final product.
2. Experiment with flavour combinations
Quick pickling is infinitely customizable. Learn what you like. More tangy = more vinegar. Hint of sweetness = minimal sweetener added and maybe even less depending on what you are pickling. Raid your spice drawer, peruse the fresh herbs at the market. When you can make one jar at a time, and it can even be a really small jar, it won't take long to eat and move on the the next flavour combination.
3. Use fresh produce, really fresh
Yes, we know, you always use fresh produce. But we are talking about using the best of the best. This method (and other types of pickling) works best with blemish free produce that has no bruises or soft spots.
Once you’ve tried your hand at quick pickles, you might start looking into proper canning. It starts to get serious here, with a considerably longer time commitment. There are food safety guidelines to be followed, but the beauty is that one shot at big batch canning can supply your kitchen until harvest time comes back around.
Traditional pickling requires canning and the list of necessary preserving equipment and tools gets longer. Take a look at our Essential Equipment and Tools for Canning and Preserving. The benefit of a traditional pickle is a shelf stable product that can last the year, allowing kitchens to take full advantage of seasonal produce or excess produce.
Quick pickling is a great place to start. You can make a jar at a time and there is no end to combination of flavours you can achieve.
If you’re so inclined, include small herb gardens along window sills, or plant pots out back to up your quick pickling (and general cooking game). If you’re lucky enough to have a patch of soil around, plant something useful or grab a planter and grown something delicious to use fresh or for your quick pickling! You can’t get more local than your own backyard or porch.
Quick Pickling Recipe
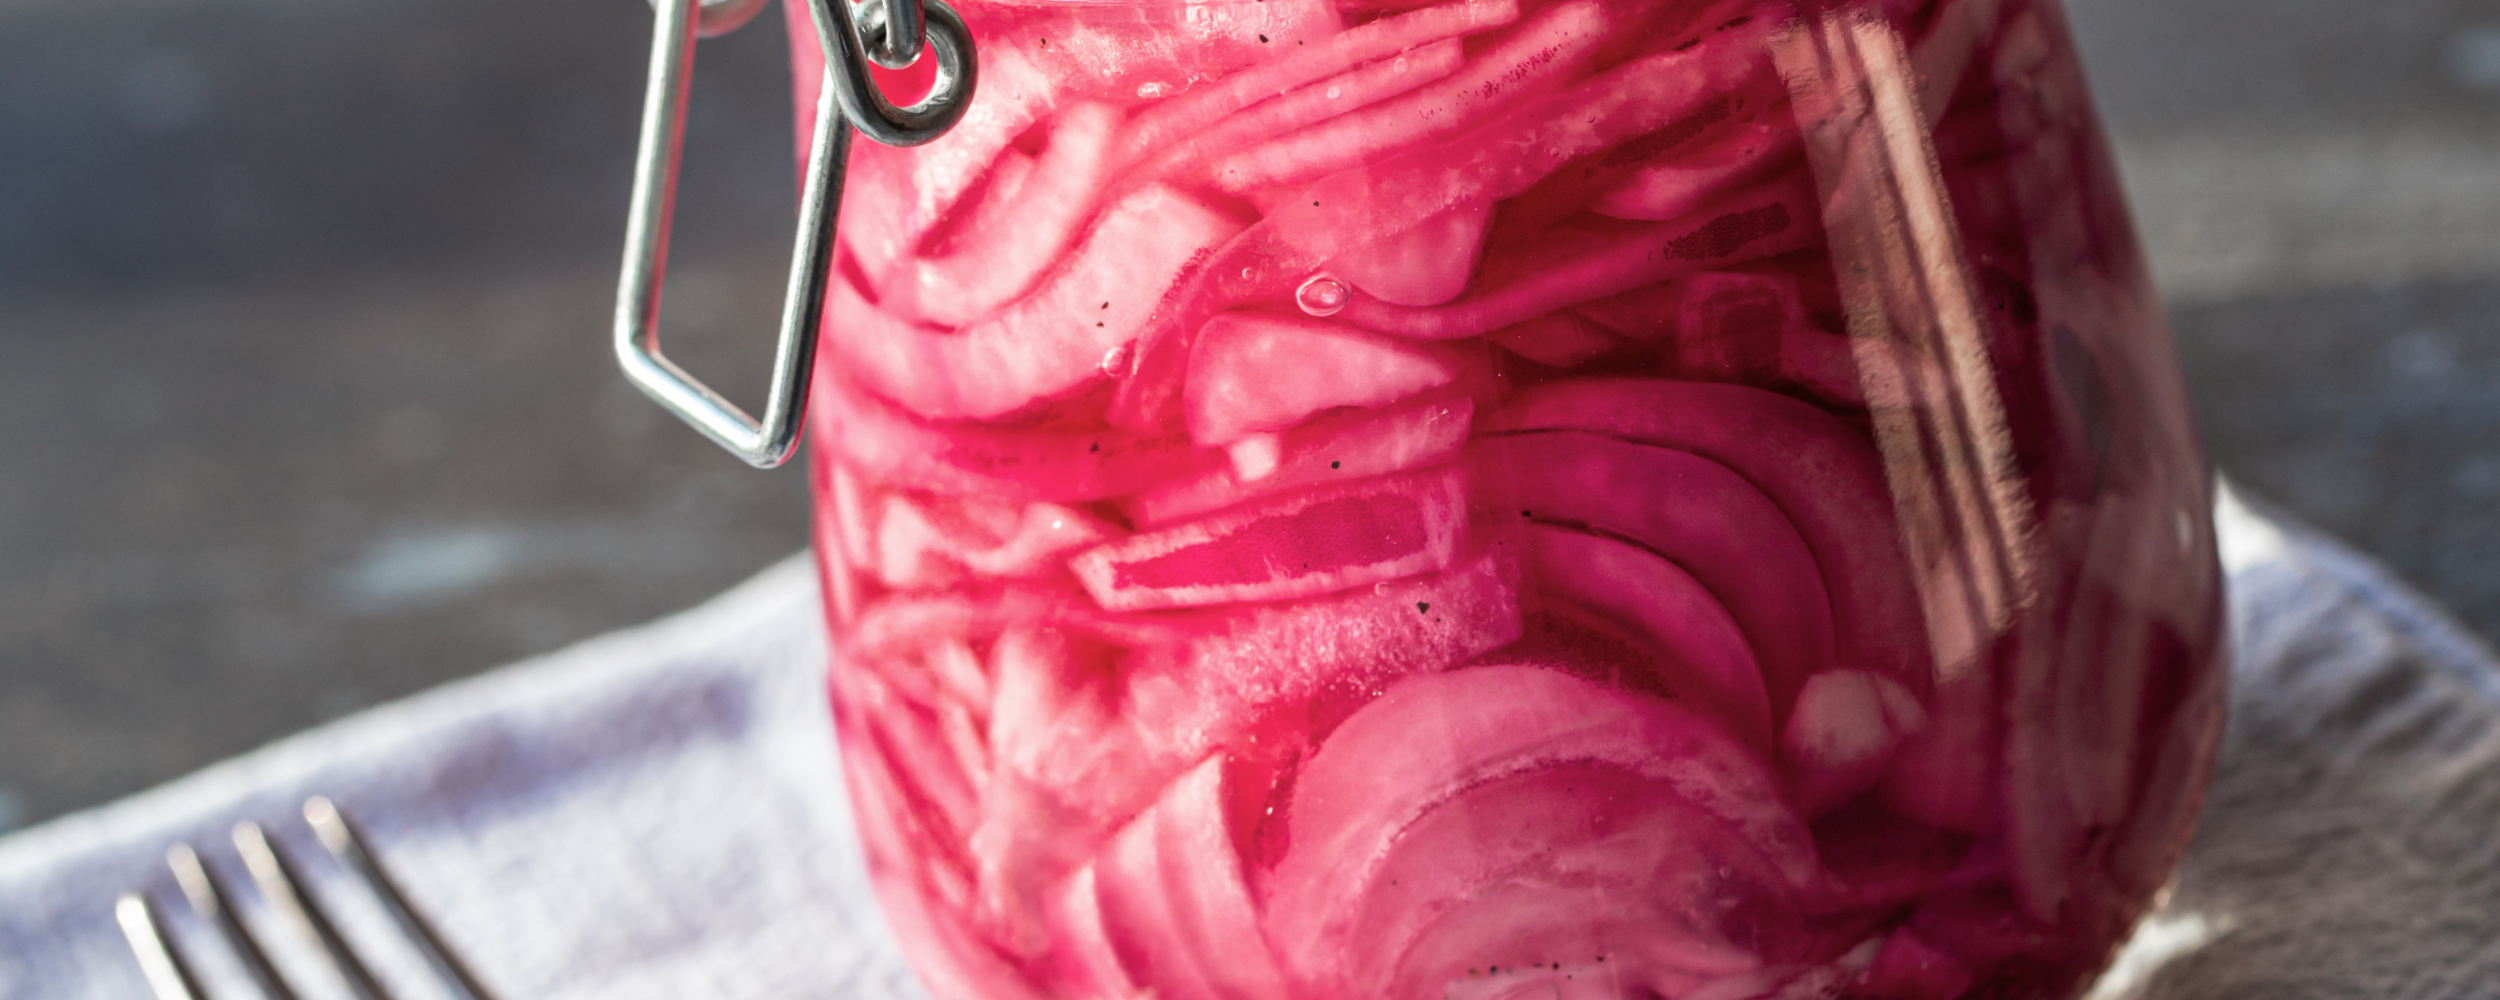
Pickled Red Onions
Simply delicious! You will run out of these slices of heaven before you run out of places to use them. Burgers, Baja Fish Tacos, Tex-Mex Chicken and Rice Bowl, Arugula, Beet and Feta Salad, Shawarma Platters...you get the idea. They are great everywhere!
Makes 1 jar (use a half-pint / 500 mL jar)
Ingredients
1 large red onion, sliced
1/2 cup apple cider vinegar
1/2 cup water
1 tbsp sugar
1/2 tsp salt
Kitchen Equipment & Tools
Paring Knife
Chef Knife
Cutting Board
Measuring Cup
Stainless Steel Pot or Pan
Glass Jar with Lid
Directions
1. Wash and dry glass jar and lid.
2. Slice red onion and pack into the jar.
3. In pot add vinegar, water, sugar and salt. Bring to a simmer or until sugar and salt have dissolved.
4. Pour over onions in jar. Ensure all of the onions are in the liquid. Put on the lid.
5. Allow to cool until room temperature then refrigerate. Enjoy!
Chef Tips
Use a mandoline to achieve uniform slices. A mandoline can also achieve extremely thin slices if that is your preference.Adjust the quantity of vinegar, salt and/or sugar to your taste.
Add coriander seeds, whole or coarsely ground peppercorns or red pepper flakes.
Change the type of vinegar from apple cider to white wine or rice vinegar.
Add more slices of red onion to completely fill the jar.
TAGS:
